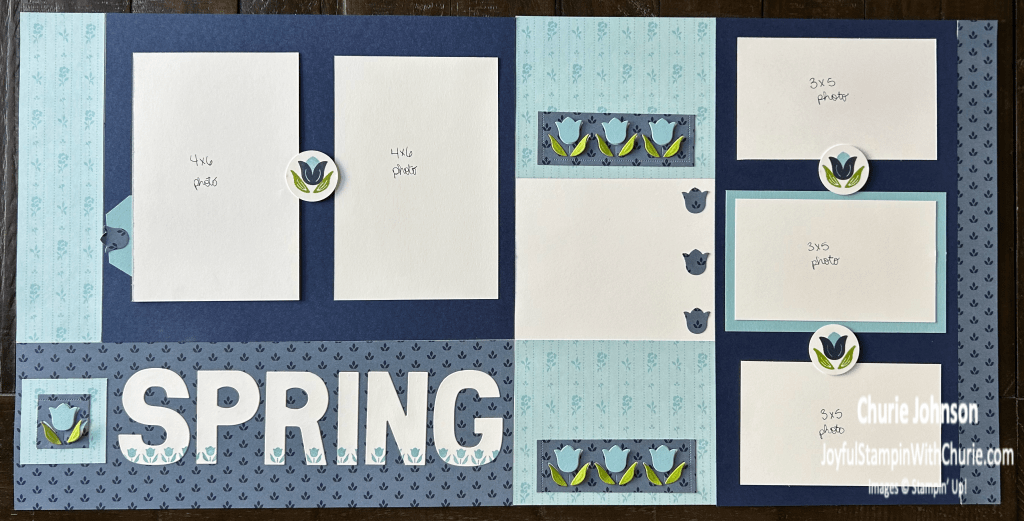
I created this 2-page scrapbook layout using the Stampin’ Up Sunshine & Tulips bundle. I incorporated the die cut tulips and stamped tulips on this project. I think the True Blue Florals 12″ x 12″ Designer Series Paper (DSP) worked very well for this project. The the True Blue Florals 12″ x 12″ Designer Series Paper (DSP) was the Stampin’ Up Product of the Month and is still available while supplies last.
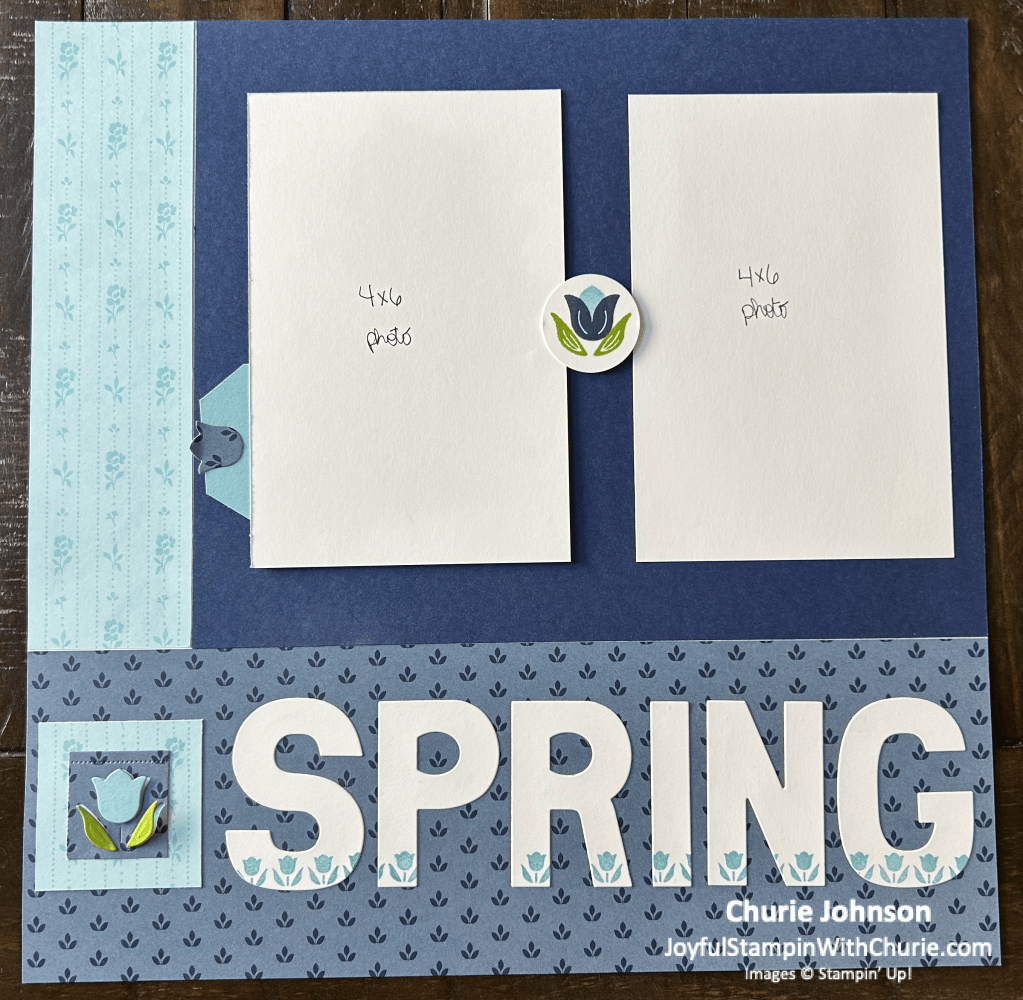
Here is a closer look at the left page.
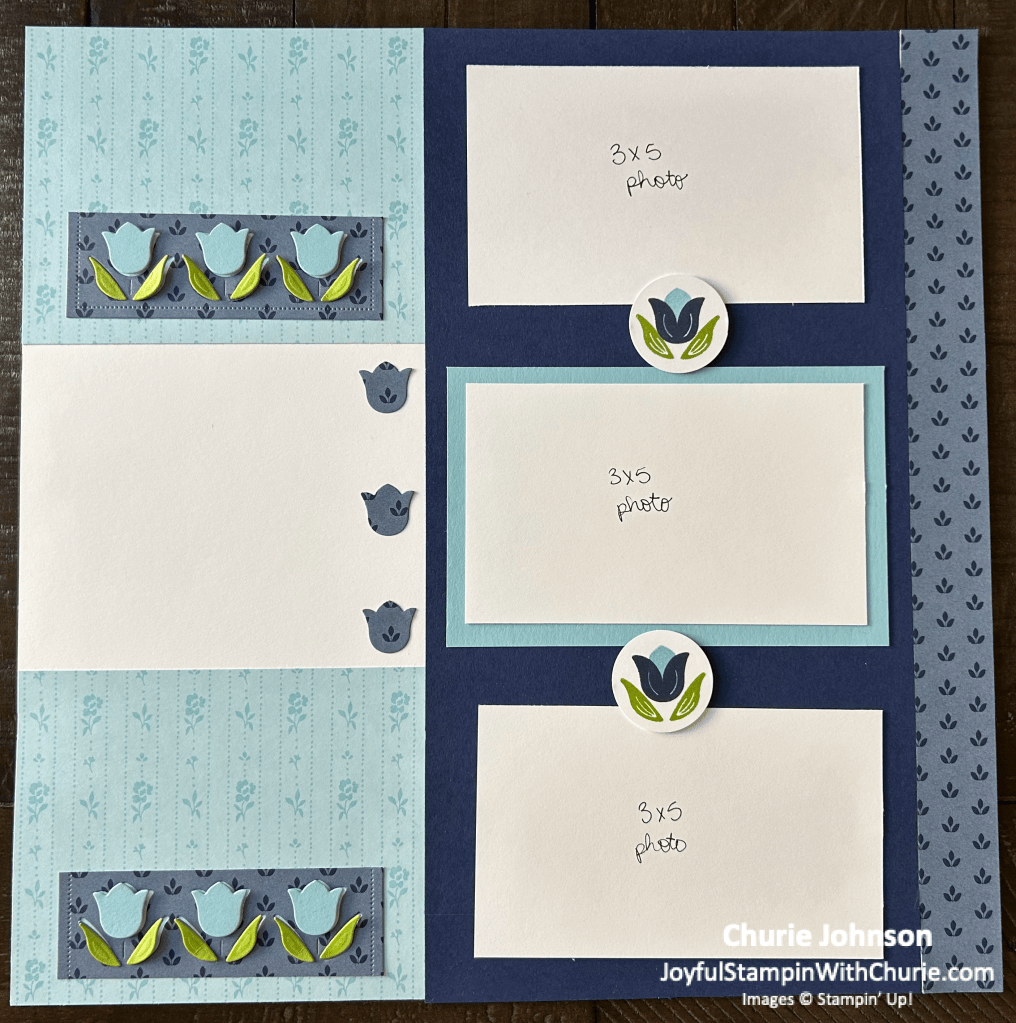
Here is a closer look at the right page.
I used a removable adhesive for all the photo place holders.
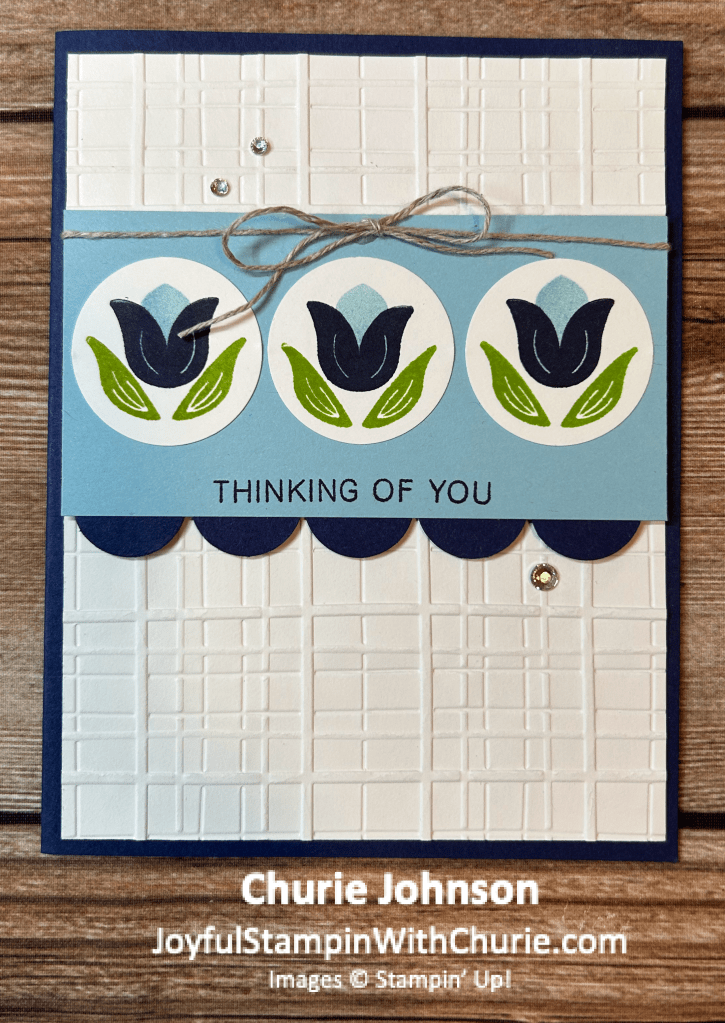
I am having lots of fun with the Stampin’ Up Sunshine & Tulips bundle. For this card I decided to stamp the tulips on three circles. To create the stamped tulips I first stamped the center of them using the Balmy Blue stamp pad. Next, I stamped the outside petals of the tulips in Night of Navy. Lastly, I stamped the tulip’s leaves in Granny Apple Green. The color combination a person can use to create these beautiful tulips is endless.
I created the Night of Navy scallop edging on the front of the card by using circles (half of the circles are glued to the Balmy Blue layer. To add some pizzaz to the card, I raised up the Balmy Blue layer that has the three tulips on it with Stampin’ dimensionals, used linen thread to tie a bow around the Balmy Blue layer, and added some rhinestone basic jewels.
The list of supplies I used to create this pretty card is below.
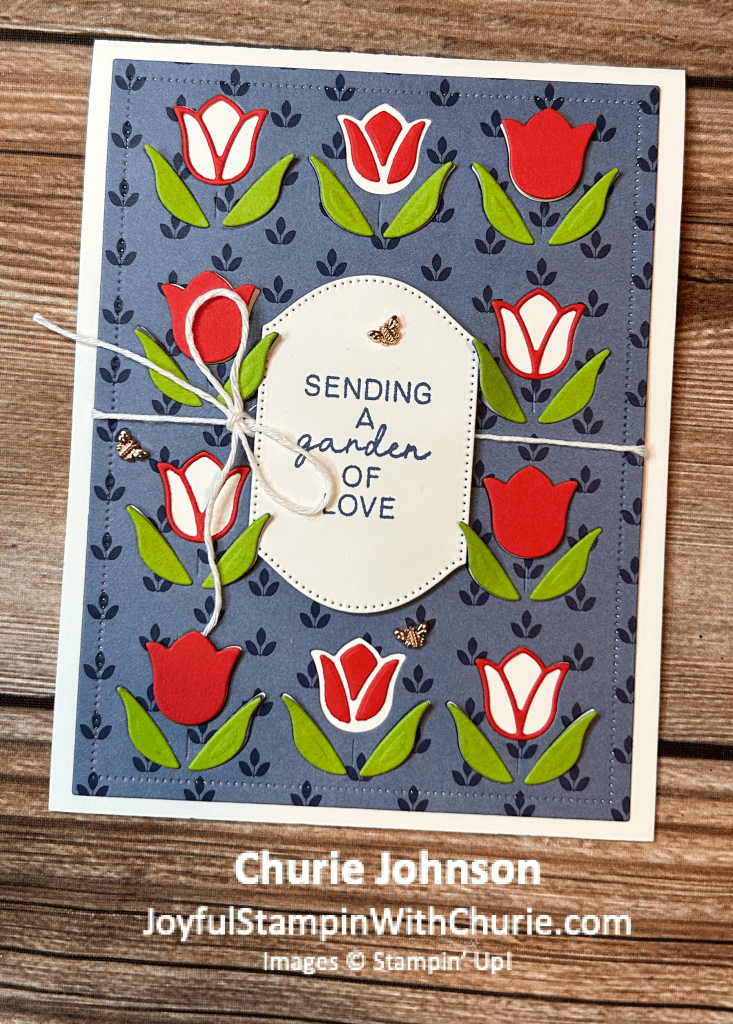
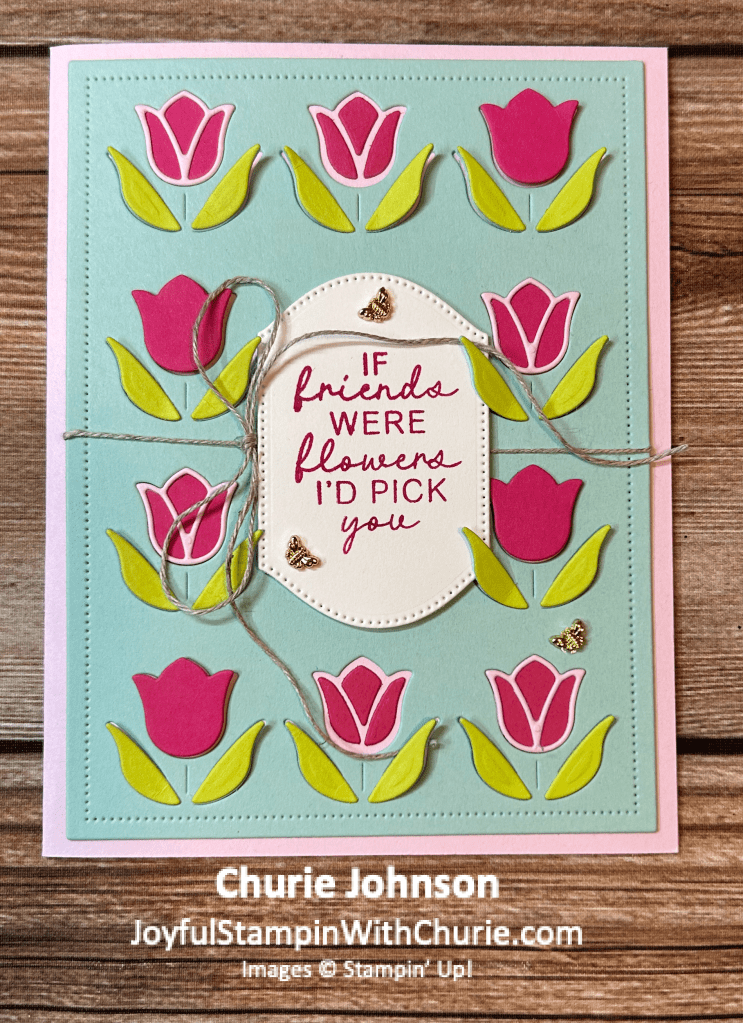
For this card featuring the Stampin’ Up Sunshine & Tulips bundle I decided to use the True Blue Florals 12″ x 12″ Designer Series Paper (DSP) which was the December Product of the Month that is still available to purchase for $5.00 (while supplies last) when you place a qualifying Stampin’ Up order of $75.00.
The colors I used for this card are the following:
Cardbase (Basic White): 11″ x 4..25″ scored at 5.5″
True Blue Florals Designer Series Paper (DSP) Layer: The large Sunshine & Tulips die cuts out this whole piece.
Sentiment Layer: The Sunshine & Tulip die cuts out the label.
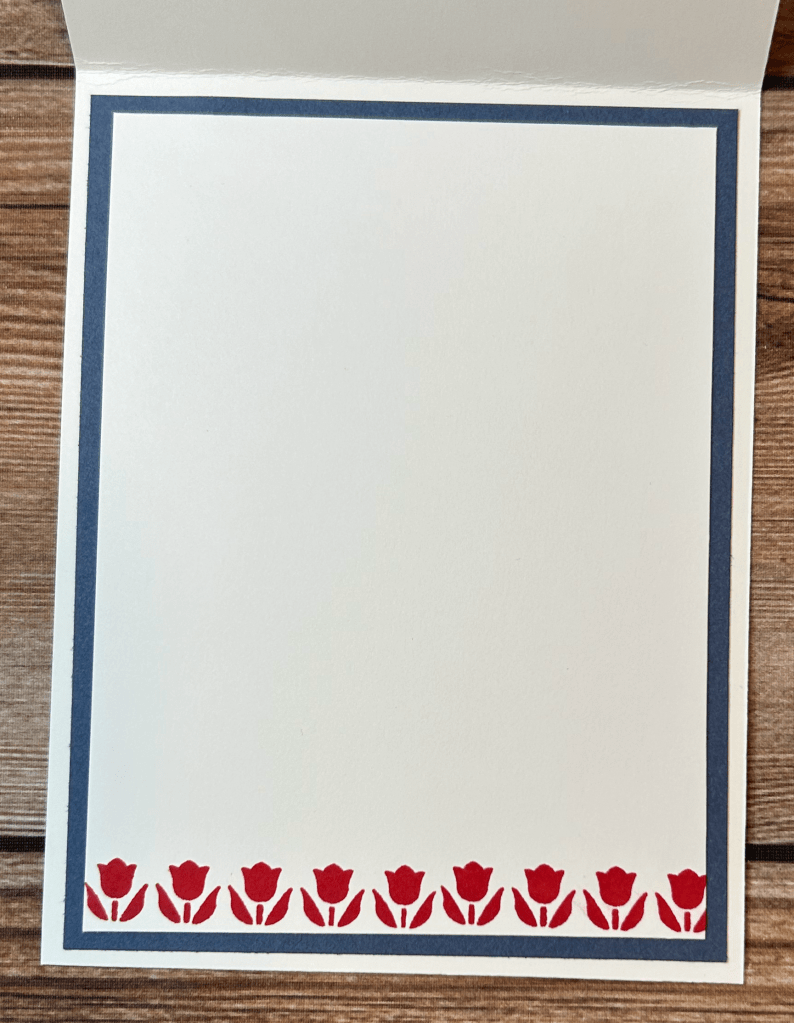
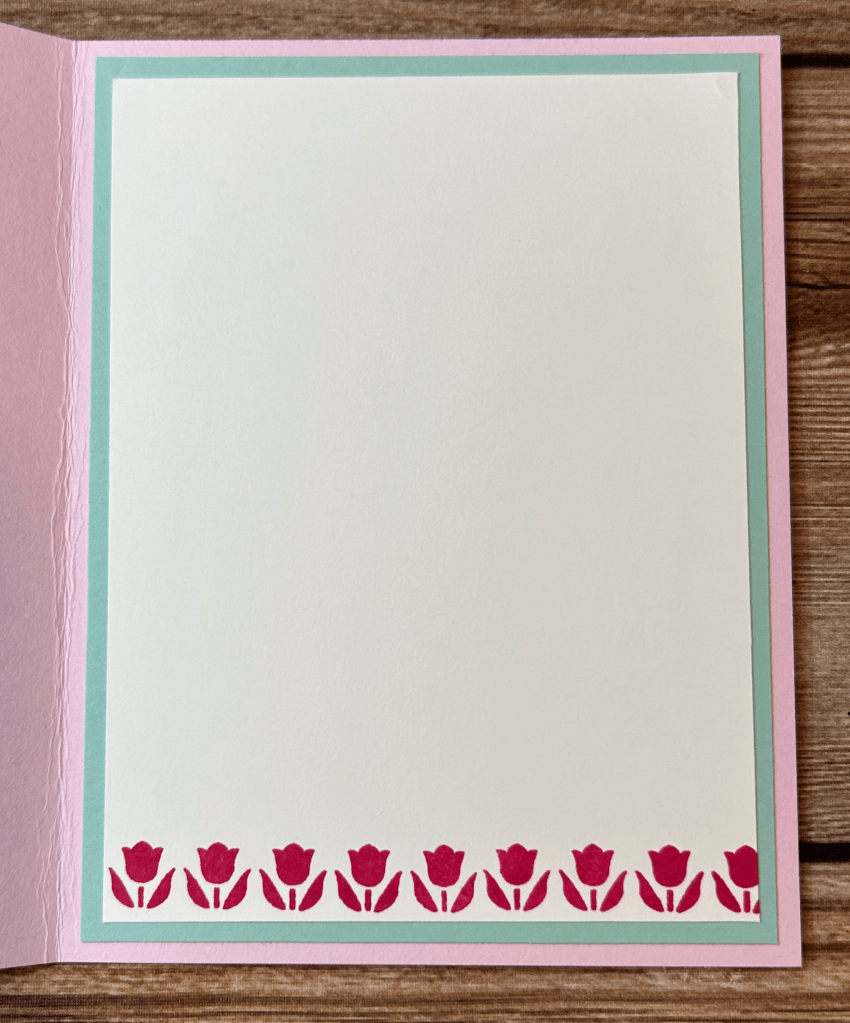
Misty Moonlight Layer (inside of the card): 4″ x 5.25″
Basic White Layer (inside of the card): 3.75″ x 5″
You will need to die cut one piece of the True Blue Florals Designer Series Paper (DSP) and one piece of Poppy Parade cardstock with the large Sunshine & Tulips die.
I used mini Stampin dimensionals behind the Poppy Parade tulips to give the card some more dimension. I used the regular Stampin dimensionals behind the sentiment label. Lastly, I used multipurpose glue to adhere the tiny bee trinkets to the card.
You will want to adhere an adhesive sheet to a piece of Poppy Parade cardstock (this will be used to die cut the outline of the tulips) and a piece of Granny Apple Green cardstock (this will be used to die cut the leaves). You can use liquid glue for this step, but I have found it much easier to use the adhesive sheets.
The supplies I used to create this cute card are the following:
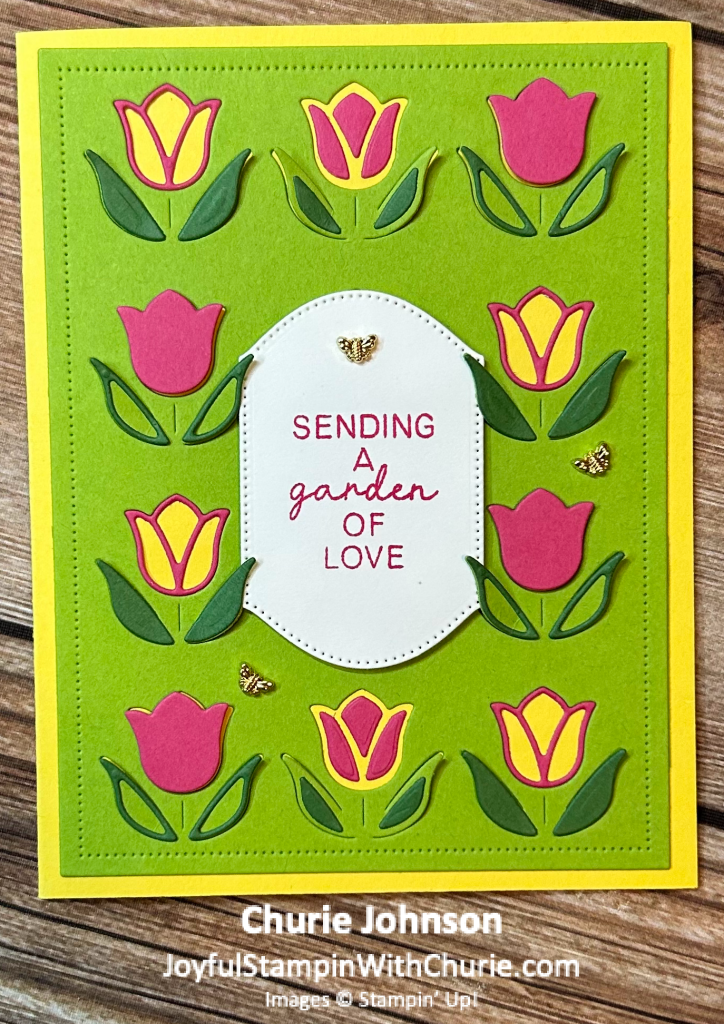
I just love all the different color combinations you can use with the Stampin Up Sunshine & Tulips bundle. The colors I used for this card are the following:
Pool Party Layer: The large Sunshine & Tulips die cuts out this whole piece.
Sentiment Layer: The Sunshine & Tulips die cuts out the label.
Pool Party Layer (inside of card): 4″ x 5.25″
Basic White Layer (inside of card): 3.75″ x 5″
You will need to die cut one piece of the Pool Party cardstock and one piece of Melon Mambo cardstock with the large Sunshine & Tulips die.
I used mini Stampin’ dimensionals behind the Melon Mambo tulips to give the card some more dimension. I used the regular Stampin dimensionals behind the sentiment label. Lastly, I used multipurpose glue to adhere the tiny bee trinkets to the card.
You will want to adhere an adhesive sheet to a piece of Melon Mambo cardstock (this will be used to die cut the outline of the tulips) and a piece of Lemon Lime Twisit cardstock (this will be used to die cut the leaves). You can use liquid glue for this step, but I have found it much easier to use the adhesive sheets.
Supplies I used to create this project are the following:
Granny Apple Green Layer: The large Sunshine & Tulips die cuts out this whole piece.
Sentiment Layer: The Sunshine & Tulips die cuts out the label.
Melon Mambo layer (inside of card): 4″ x 5.25″
Basic White layer (inside of card): 3.75″ x 5″
You will need to die cut one piece of Granny Apple Green cardstock and one piece of Melon Mambo cardstock with the large Sunshine & Tulips die.
I used mini Stampin’ dimensionals behind the Melon Mambo tulips to give the card more dimension. I used the regular Stampin’ dimensionals behind the sentiment label. Lastly, I used multipurpose glue to adhere the tiny bee trinkets to the card.
You will want to adhere an adhesive sheet to a piece of Melon Mambo cardstock (this will be used to die cut the outline of the tulips) and a piece of Garden Green cardstock (this will be used to die cut the leaves). You can use liquid glue for this step, but if is much easier to use the adhesive sheets.
The supplies I used to create this spring card are below:
I am not sure about you, but I love flowers. One of my favorite flowers are tulips. When I lived overseas I had the opportunity to explore Holland and while I was there I went to the annual Tulip Festival. The tulips were absolutely beautiful.
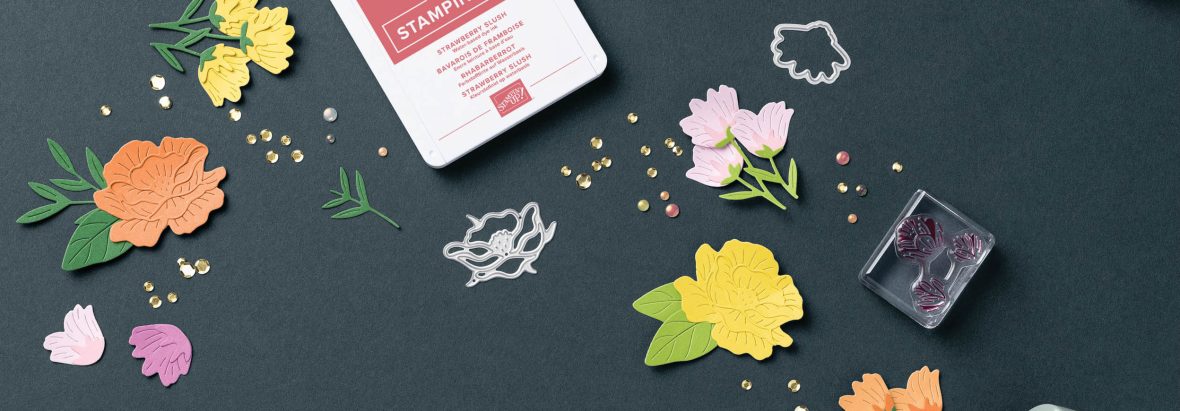
When I saw the Stampin’ Up Sunshine & Tulips bundle in the 2026 Spring Mini Catalog I knew I needed to get it. This last week I was able to create several projects using this fun bundle.
For this first project I used the following Stampin’ Up Color Combination:
Lemon Lime Layer: The large Sunshine & Tulip die cuts out this whole piece.
Sentiment Layer: The Sunshine & Tulip die cuts out the label.
Melon Mambo Layer (inside of card): 4″ x 5.25″
White Layer (inside of card): 3.75″ x 5″
You will need to die cut one piece of Lemon Lime Twist cardstock and one piece of Melon Mambo cardstock with the large Sunshine & Tulip die.
I used mini Stampin’ dimensionals behind the Melon Mambo tulips to give the card more dimension. I used the regular Stampin’ dimensionals behind the sentiment label. Lastly, I used multipurpose glue to adhere the tiny bee trinkets to the card.
You will want to adhere an adhesive sheet to a piece of Melon Mambo cardstock (this will be used to die cut the outline of the tulips) and a piece of Garden Green cardstock (this will be used to die cut the leaves). You can use liquid glue for this step, but it is a thousand times easier and a lot more enjoyable to create this card if you use the adhesive sheets.
The supplies I used to create this fun card are below:
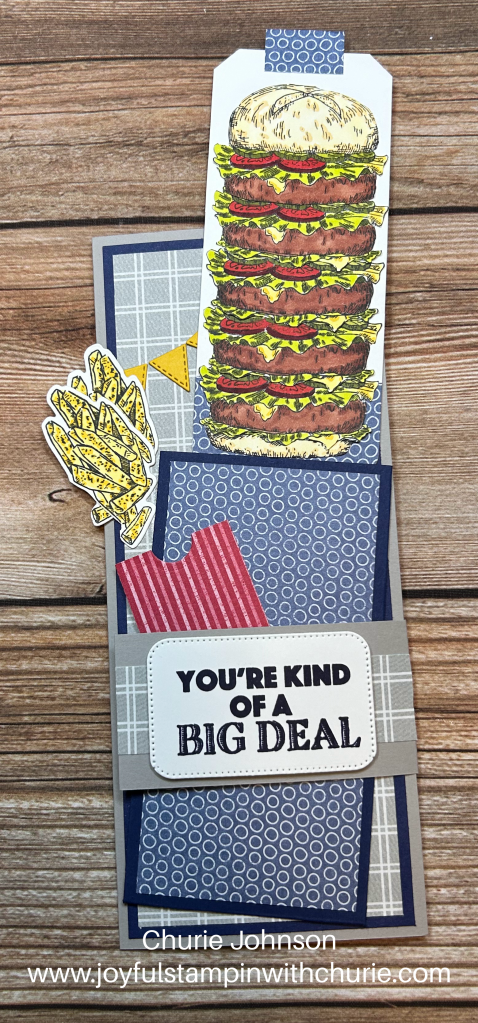
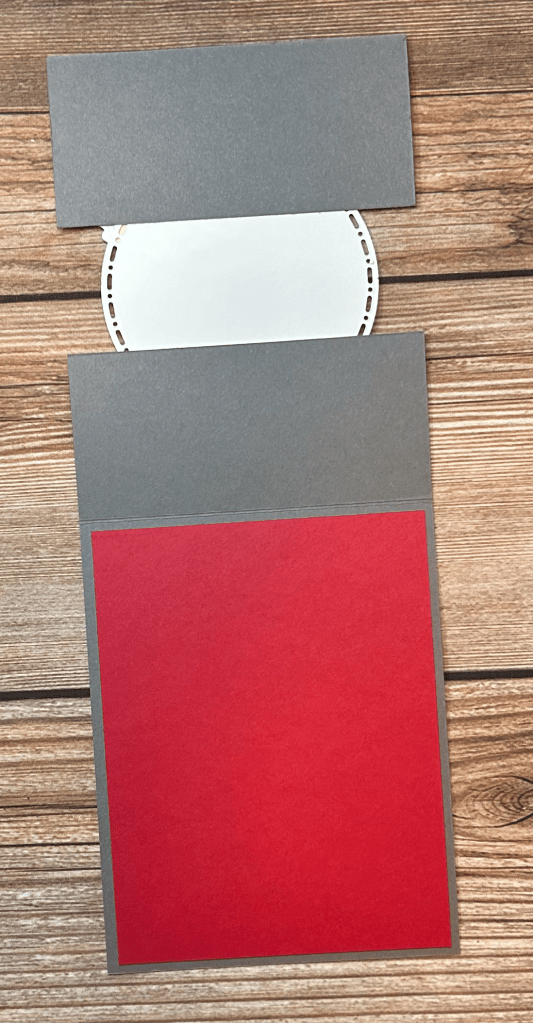
I created this fun interactive “growing” burger slimline card for my soon to be son-in-law for his birthday. My daughter informed me that he has her order a 4-5 patty burger for him at In N Out. I had no idea you could add that many patties to a burger there, but I guess it is a real thing. LOL My soon son-in-law loved the card. I placed an In N Out gift card inside of the card.
Tips: To create the 5 patty burger I used a piece of 1/2″ x 5″ Basic White cardstock and built the burger from the bottom up. Each hamburger layer was stamped, colored with Stampin Blends, fussy cut, and adhered to the 1/2″ x 4 1/2″ strip of Basic White cardstock. After assembling the burger I adhered it to a Basic White tag. To help keep the Smoky Slate flap closed I placed a mini magnet under the Smokey Slate Designer Series Paper (inside of flap – closest to the the card when the card is opened) and I placed another mini magnet inside of the french fries container.
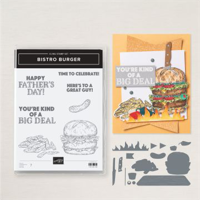
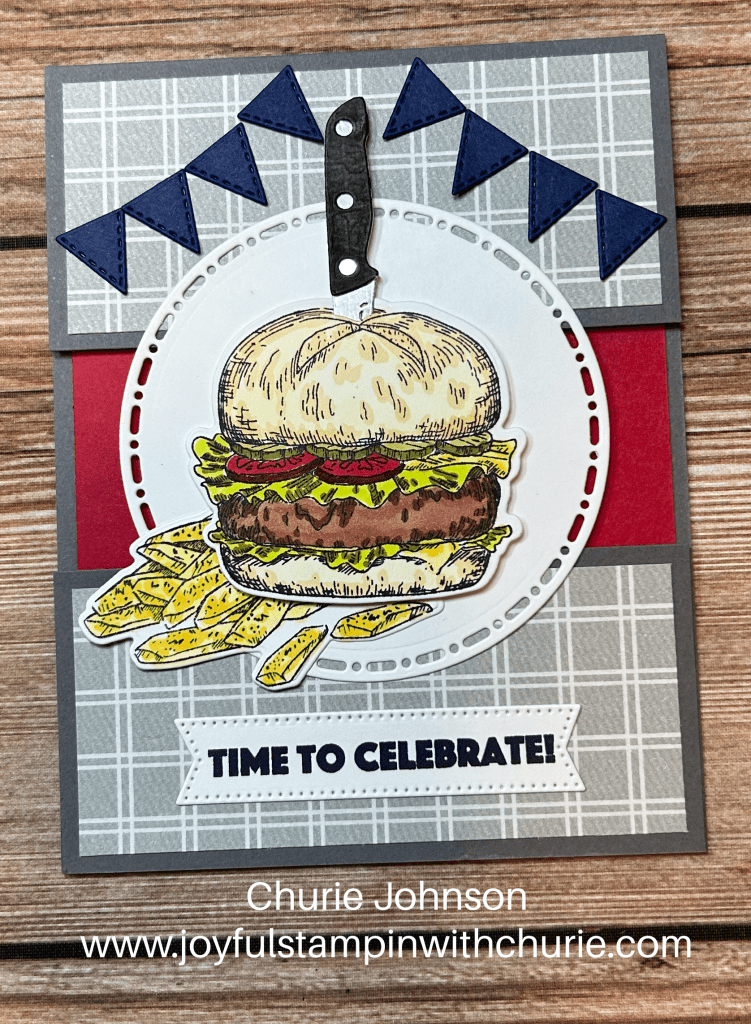
Who said you can only have one hamburger patty with all the works on your hamburger? I created this double burger Father’s Day card using the Bistro Burger bundle from the 2024-2025 Stampin’ Up Annual Catalog. The hamburger stamp is only one hamburger patty, but you can stamp the image as many times as you would like to create the ultimate burger. For this card, I stamped the hamburger two times. Then I colored the whole hamburger image with Stampin’ Blend markers of one and then just colored the hamburger and the works (no bun) on the other stamped hamburger. Next, I cut the hamburger and works from the second stamped hamburger and cut off the bottom bun of the first hamburger stamped image (colored). I then took a scrap strip piece of cardstock (long enough to add all the hamburger pieces onto) and adhered the bottom bun, the extra hamburger and works, and the first burger with the works and bun to it using multipurpose glue. After I built the burger I adhered it to the Spotlight on Nature die cut circle using Stampin’ dimensionals.
I created a gift card holder inside the card. I think it would be nice to treat your dad to a delicious hamburger on Father’s Day. 🙂
Measurements:
Cardbase: 8 1/2″ x 5 1/2″ (scored at 2 1/8″ from each side)
Crumb Cake Designer Series Paper layer: 1 7/8″ x 5 1/4″ (each panel)
Basic White Cardstock (inside of card): 4″ x 5 1/4″
Crumb Cake Designer Series Paper (inside of card): 4″ x 1 3/4″
Belly band: 9 3/8″ x 1 1/4″ (scored at 2 3/8″ from each side)
The supplies I used to create this Father’s Day card is below. Happy stampin’! 🙂